Monday, December 27, 2010

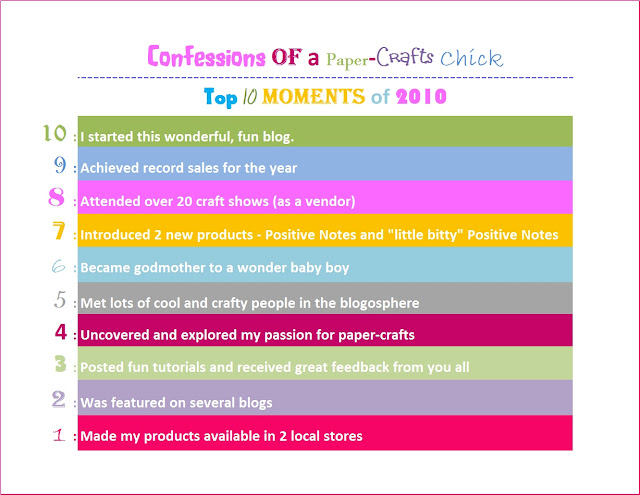
Top 10 of 2010 List


Merry Christmas and Happy New Year from
Confessions of a Paper-Crafts Chick!


My rosette Christmas tree won "Best In Show"

and...
It was featured in the "25 Christmas Tree Crafts" at Craft Gossip.

They are talking about me at CraftGossip.com

and
I was feauted on "Sew Woodsy"


P.S. Check the blog hops tab (at the top of the page) to see where I've hopped today.

Saturday, December 18, 2010

Rosette Christmas Tree - won "Best In Show" Award :o)

I've been planning this "big project" for the past 3 weeks now.  I say "planning", but it was more like procrastination, because I was actually a bit nervous about this one, since I've NEVER done anything like this before.  I had no clue how to make a rosette.  Well, I finally found the courage and the time (in the same day) to jump into it head first, and just go for it.  So, I went for it and here's what happened. 


TADA!!!

Won "Best In  Show" at LambAround.
Thanks for voting!


It's a rosette Christmas tree.  Yaaaaay!  It actually worked.  I did it and it's beautiful.  Why was I so afraid?  I guess I wasn't too sure how it would work out, but turns out it was fun and very relaxing.  I even created my own little tree-topper with jolly old St. Nick and the Gingerbread Man.  I gotta admit - I had fun with this one.


I simply cut and scored the decorative paper using my super-duper paper trimmer and scoring tool (scored at every 1/2 inch).  Then, I accordian folded the paper and attached the ends to make each rosette.  The Christmas tree is composed of pages from the "Happy Holiday" paper pack by K & Company as well as "Jolly Holidays" by Doodlebug Design.


O Christmas tree, O Christmas tree, how lovely are your Rosettes.  LoL! 


Wow!  My tree was voted "Best In Show" over at LambAround blog.
Thanks to everyone who voted for me.  :o)

and...
I was also featured in the "25 Christmas Tree Crafts" at Craft Gossip .

CraftGossip

and
I was feauted on "Sew Woodsy"


Well, I'm off to find another project to tackle.  :o)
Enjoy your weekend,


P.S. Check the blog hops tab (at the top of the page) to see where I've hopped today.


Sunday, December 12, 2010

3D Town Calendar - 2011

Alright gang!  We're approaching Christmas and the New Year, and you all know what that means...We all need new calendars, so we can keep up with all the days of 2011.  I found one that I really like (over at the Creative Park website) and it it takes up very little space.  The best part is:
  • It's FREE!
  • It's 3D!!
  • You can download it to your computer and print out.
  • ...again, it's FREE. 

It's the 3D Town Calendar for 2011.  


Each month stands alone and you can move the months around in whatever order you choose.  Or, you can choose to display only 1 month at a time like the one below.


Additional views:


All you need to do is download the 3D Town Calendar here, at the Creative Park website, print out and cut. 


P.S. Check the blog hops tab (at the top of the page) to see where I've hopped today.

Sunday, December 5, 2010

Christmas Gifts...with a Twist

This Christmas season I'll be sending out a different set of gifts to friends and family.  Normally, I make a list, run to a couple of stores to shop and pick-up everyone's gift, BUT this year things are going to be different.  I have found the perfect gift that will fit everyone on my list; from the youngest to the oldest, the smallest to the biggest, the pickiest to the most simple.  My gift to everyone this year will be.......yes, you guessed it.  GIFT CARDS!  Yes, gift cards are perfect...they're the right size, the right color, the right fit.  They're just right.  This way all of my recipients get to pick exactly what they want or need. 

Now, of course I can't give them just a gift card.  How lame would that be (LoL!)?  You know there has to be some type of packaging or holder, right?  So, here's my latest  paper-craft project: 


I made this cute little gift card holder to fit all the gift cards that I plan to send out.  The snowflakes and the reindeer scream CHRISTMAS!!!  As time gets closer, I'll make more with different designs, but this was my first shot at it and I gotta say, this one is a winner.  What do ya think?

Guess What!  More Good News!
My gift card was featured on...


HOORAAAAAAAY!


P.S. Check the blog hops tab (at the top of the page) to see where I've hopped today.


Wednesday, December 1, 2010

Sour Cream Packet Replica - Tutorial

How cute is this! I remember getting these little sour cream packets from Wendy's (whenever I order a baked potato). I thought this would be a great idea for quick and simple gift ideas. Clearly, we won't be filling the package with sour cream. You can simply add anything that will fit. I'm going to add different candy and give in addition to gifts throughout the holiday season.  On my trial run, I filled the replica packet with sweet, little, love notes and gave to "Mr. Paper-Crafts Chick" and he loved it.  :o) 


What you'll need:
  • scissors/paper-trimmer
  • paper crimper
  • double sided adhesive/tape or glue
  • cardstock

Here's how I did it:

1.  Start with cardstock cut to 5.5" x 6" (you can go smaller if you'd like).


2. Add a double-sided adhesive to 1 of the short sides of the paper.


3.  Then repeat on the 2 longer sides. Next, roll the paper (from left to right) to make a tube.


4.  Squeeze the tube closed on one end (one of the ends w/ the adhesive).  Use a paper crimper and crimp the end to create that classic sour cream packet look.


5.  Fill the container with candy or knick-knacks. Then, squeeze the other end closed (but, in the opposite direction).  Finally use the paper crimper again to create the crimped look along the edge. 


...and there ya go.  You did it!


ENJOY!


P.S. Check the blog hops tab (at the top of the page) to see where I've hopped today.